

Want salon-quality gel nails at home without leaving your house? Say no more. Applying gel polish at home is easier than you think... as long as you follow the right steps. In this guide we’ll walk you through how to apply gel polish properly, so you can achieve a flawless, long-lastinggel nails at home.
Whether you’re a beginner or just looking to perfect your technique, this step-by-step routine will help you create a beautiful gel manicure that lasts for weeks. But before you you start, make sure you have the right tools: having everything ready will make the process smoother and your results better.
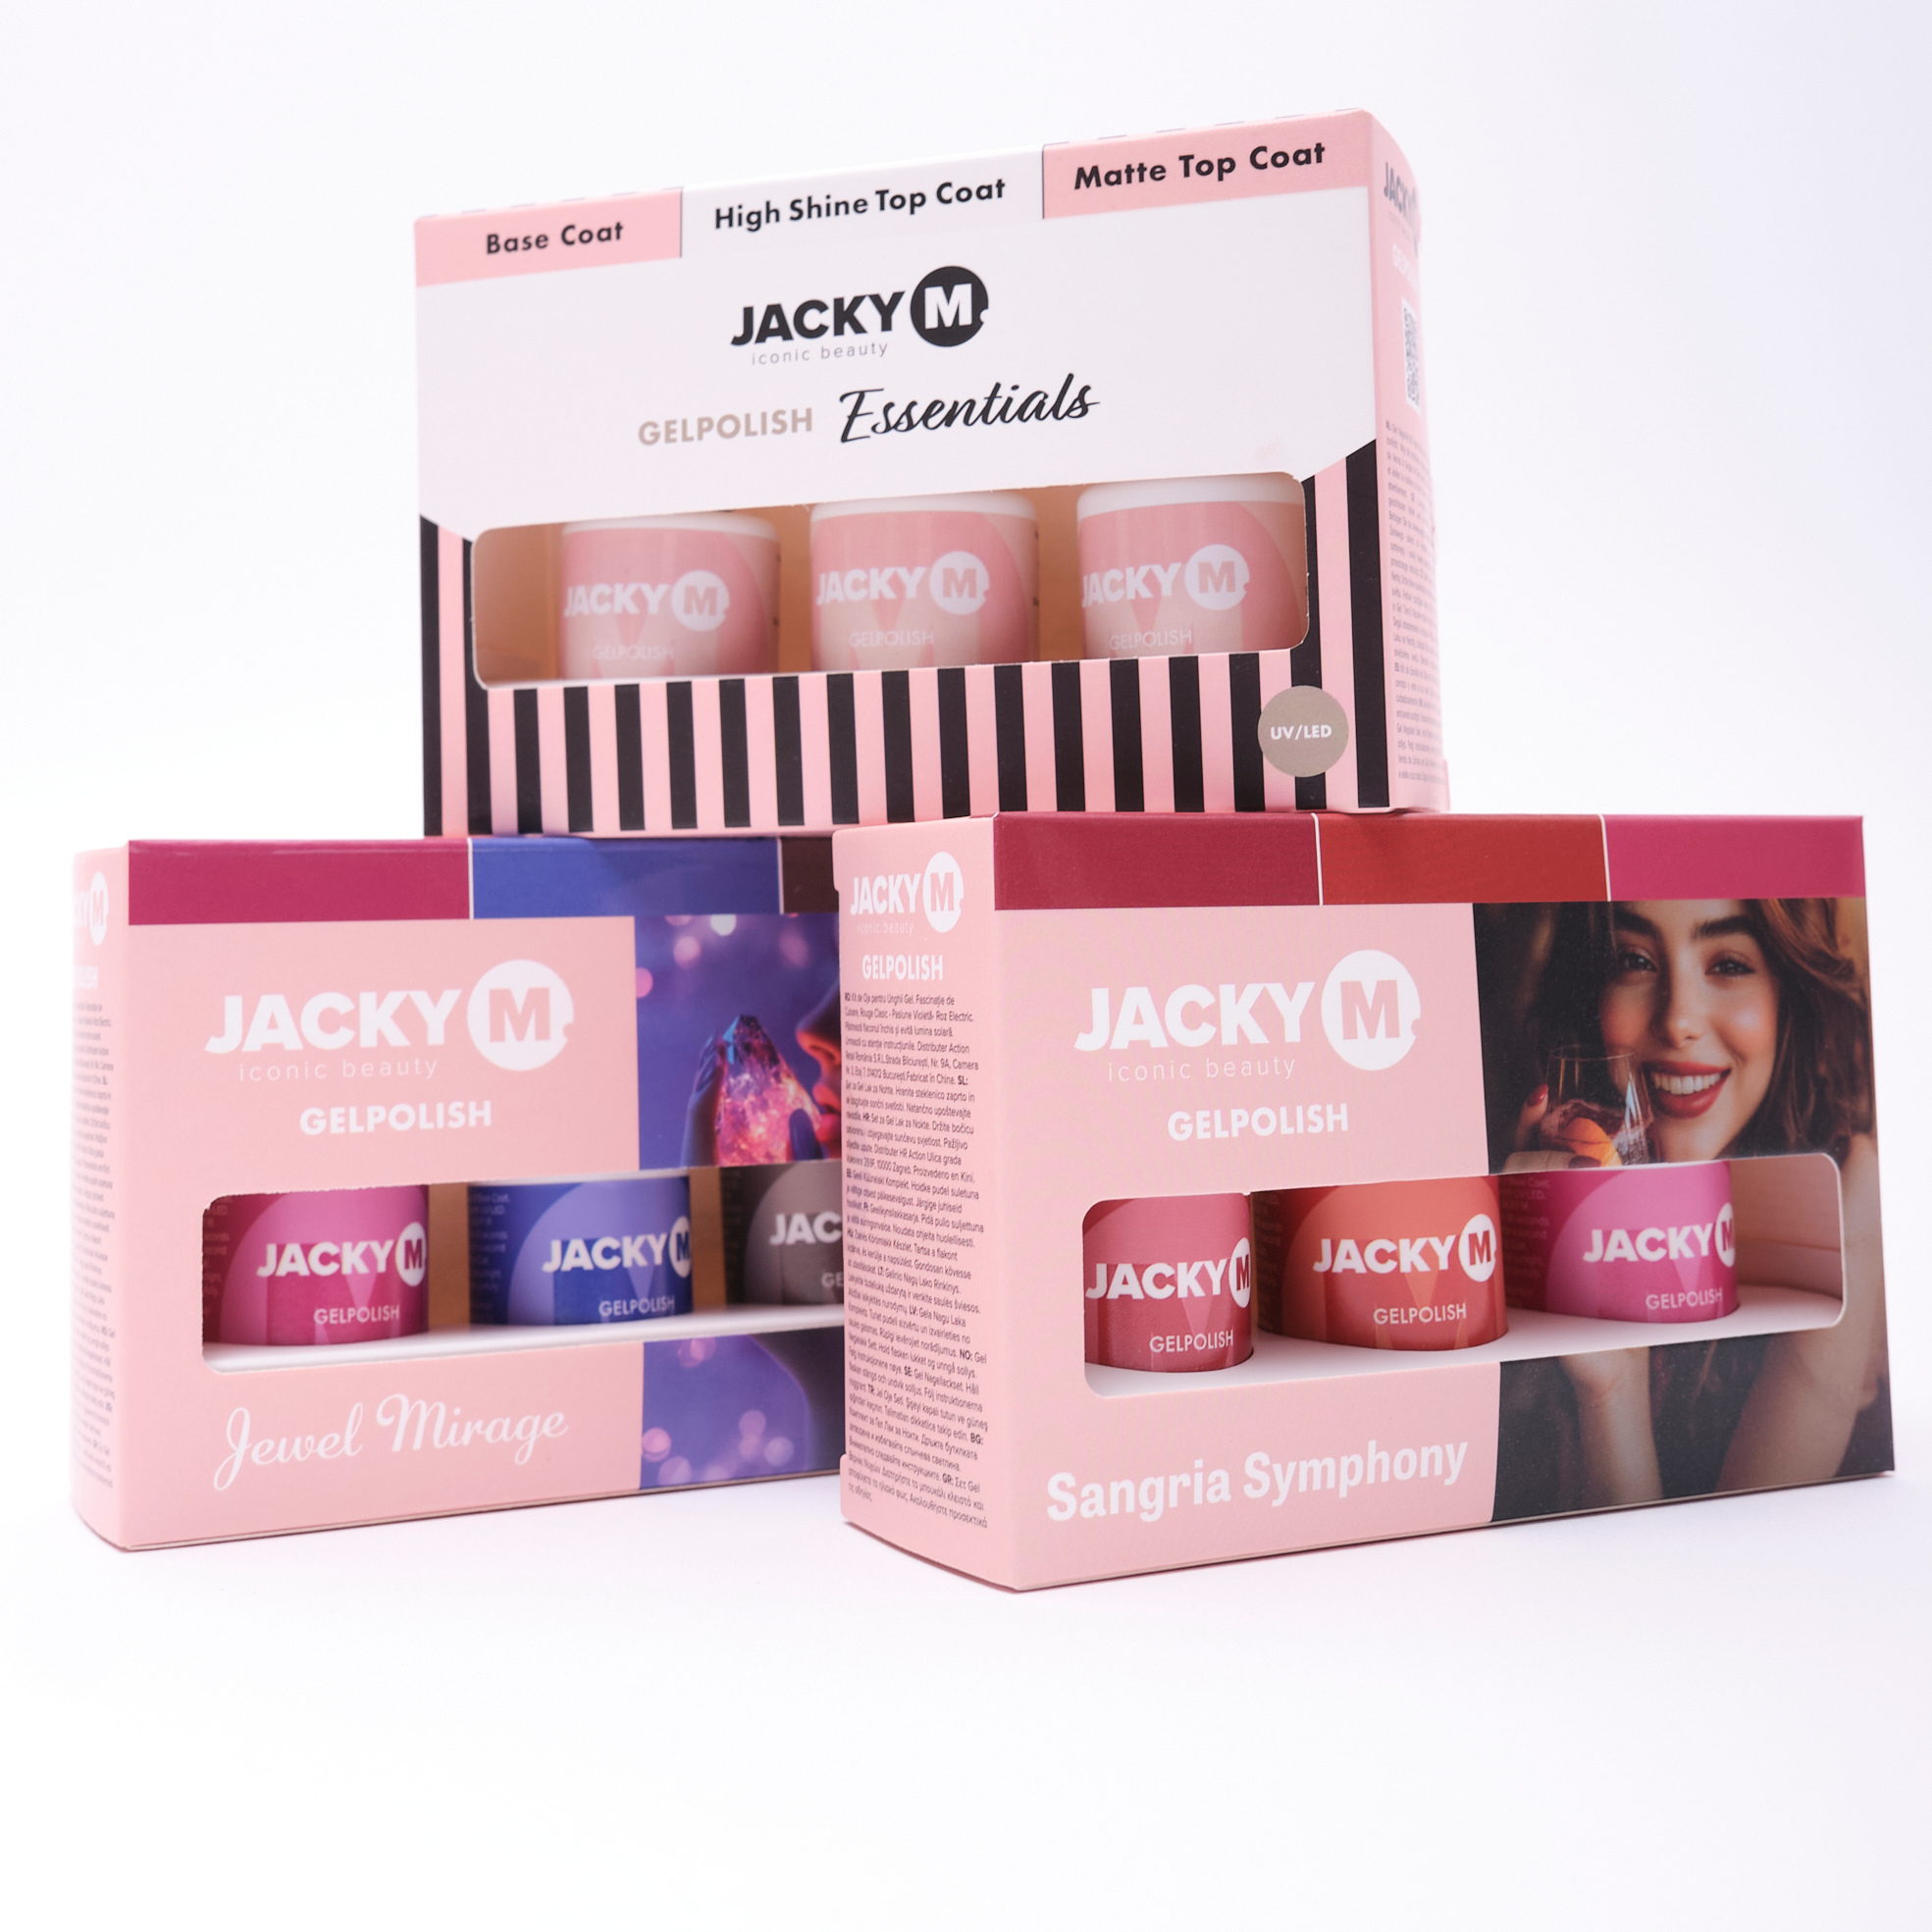
💡 Tip: Our Gel Polish Starter Sets are the easiest way to get everything you need in one go.
Step 1: Prep your nails
Before you even open your gel polish, your manicure already begins with proper nail prep. Start by shaping your nails with a nail file into the look you want: square, almond, round or oval. Then gently push back your cuticles with a cuticle pusher and lightly buff the surface of your nails so they’re no longer shiny. This helps the gel polish grip properly. To finish your prep, clean your nails with our JACKY M. Nail Prep and a lint-free wipe to remove any oils or residue. It might seem like an extra step, but this is what makes the difference between gel polish that lasts weeks and gel polish that starts lifting too soon.
Important: Do this indoors and avoid direct sunlight, UV light can already start curing your gel products.
Step 2: Apply your base coat
Once your nails are clean and prepped, it’s time to apply your base coat which you’ll find in our JACKY M. Essentials Kit along with two top coats. This is the foundation of your entire gel manicure and helps protect your natural nails while ensuring your color adheres properly. Apply a thin layer of base coat, leaving about one millimeter of space from your cuticles. Place your hand under your LED nail lamp and cure for about 60 seconds. Don’t worry if the layer feels slightly sticky afterward, that tacky finish is completely normal and actually helps the next layer bond beautifully.
Step 3: Applying your gel polish color
Now comes the fun part: your gel polish color✨ Whether you’re going for a soft nude, a bold red, or a trendy pastel shade: the most important rule is to keep your layers thin. Apply a smooth coat keeping a small gap from your cuticles and lightly sealing the edge of your nail to prevent chipping. Cure your nails under your LED lamp for 60 seconds. If you want more opacity, you can add a second thin layer and cure again. If you accidentally get a bit of gel polish on your skin, you can gently clean it up while it’s still wet using our wood sticks.
Step 4: Seal your nails
Once you’re happy with your color it’s time to lock everything in with your chosen top coat from the JACKY M. Essentials Kit. Here’s where you can make your look totally your own: choose our High Shine Top Coat for a glossy finish, or go for our Matte Top Coat if you prefer a soft velvet effect. Apply a thin layer over your entire nail, seal the free edge again, and cure under your LED nail lamp for another 60 seconds. If you’re using the shiny top coat, remove the sticky layer afterward with a nail cleanser and a lint-free wipe to reveal a perfectly smooth finish.
Step 5: Taking care of your gel manicure
Your gel manicure doesn’t stop when the lamp turns off. Good aftercare can extend how long your nails look fresh and flawless. Massage cuticle oil into your nails daily to keep them hydrated, wear gloves when cleaning or doing dishes, and avoid very hot water in the first hour after application. These small habits make a big difference in keeping your gel nails looking salon-perfect.
Applying gel polish at home isn’t just about doing your nails: it’s your little moment for yourself. Once you’ve got the steps down, you’ll wonder why you ever went to the salon. Ready to start your at-home manicure era? 💅✨


Hinterlasse einen Kommentar
Diese Website ist durch hCaptcha geschützt und es gelten die allgemeinen Geschäftsbedingungen und Datenschutzbestimmungen von hCaptcha.